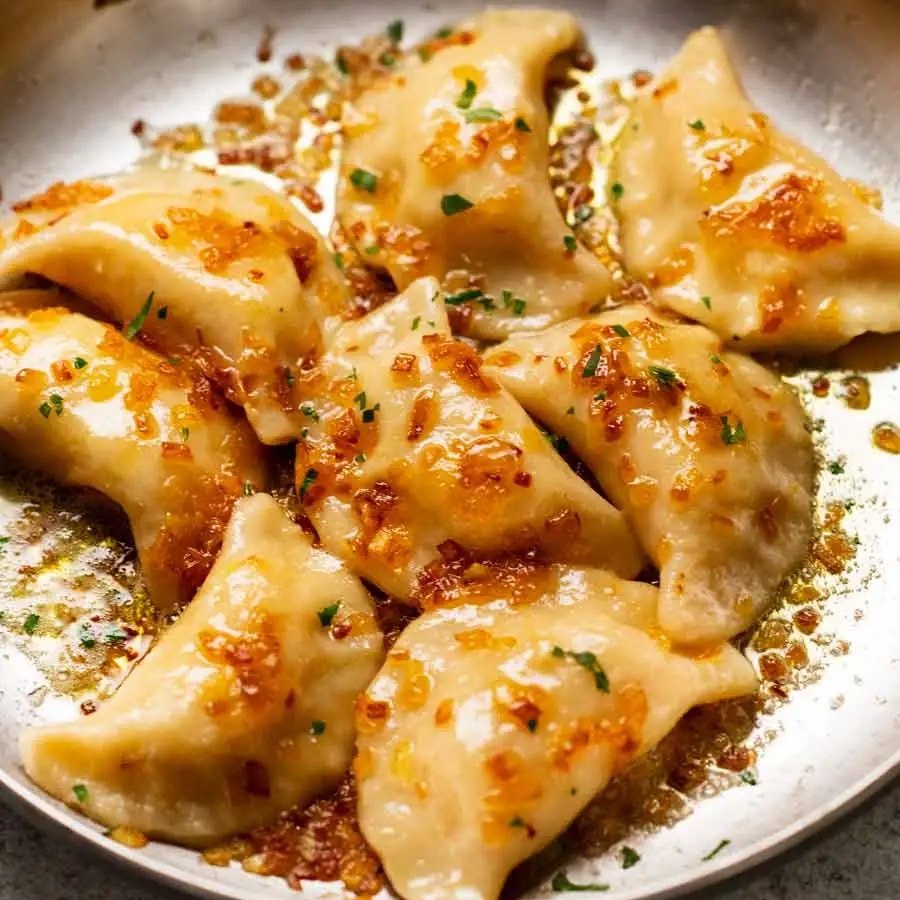
You could serve the Pierogis will just melted butter and you’d swoon. But it’s even better with a sautéed onion sauce which is common with traditional Polish Pierogis.

How to make Pierogi
Pierogis are easier to wrap than gyoza and potstickers. Because Asians like pleating – which can take practice to master. The Polish just press to seal. Much simpler! – I’m a big fan 🙂
HOT TIP: Got a Pierogi itch that needs scratching but homemade wrappers are out of reach? Use store-bought round Asian dumpling wrappers instead. The wrappers are thinner but it works a treat!
1. CHEESY POTATO FILLING FIRST
Make the filling first because it needs 1 1/2 hours to fully cool, during which time you’ll have the dough rolled out and cut, ready to fill!
- Boil potatoes in salted water, starting with the potatoes in cold water. Why? Because otherwise the outside of the potatoes cook too much and start to crumble before the inside is cooked.
- Drain potatoes.
- Mash & mix – Pass the potatoes through a potato ricer or mash using a regular potato masher. Then mix in the butter, cheese, salt and pepper. The cheese won’t melt – it melts when the pierogis is boiled!
- Cool – Spread out on to a tray. Cover with cling wrap, pressing so it is fully in contact, so the filling doesn’t sweat. Cool on the counter (about 30 minutes) then refrigerate until cold (1 hour+). You can do this the day before.
The filling needs to be cold so it doesn’t sweat inside the dough (which would make the dough soggy). It’s also easier to wrap the dumplings because the potato is firm.
- Dry – Whisk the flour and salt in a mixing bowl.
- Add wet – Make a well in the centre. Then add melted butter with warm water plus the egg. Mix to combine using a spatula – it will be a rough, shaggy dough.
- Knead – Scrape out onto a lightly floured work surface. Knead for 5 minutes until the dough becomes smooth. Use the bare minimum flour as needed to prevent it from sticking to your hands and the work surface. (Too much flour = drier stiffer dough = more difficult to roll out thinly).
- Rest – Wrap with cling wrap and leave on the counter for 30 minutes.
- oll out the dough on a lightly floured surface to 3mm / 1/8″ thickness.
- Cut out rounds using a 7.5 cm / 3″ cutter. Do as many as you can, then gather surplus dough into a ball, wrap with cling wrap and set aside to roll out and cut more later.
- Filling – Place 1 tablespoon of cheesy potato filling in the middle of a round (20g, if you want to be exact!).
- Dip finger with water and run along edge of half the circle. This will help seal securely.
- Fold dough over to enclose the filling then press the edges together.
Seal firmly by pinching to make slight dents, the traditional look of pierogis.
Place them on a lightly floured tray and continue to wrap remaining Pierogi (including rolling out the remaining dough). You should get ~30 pierogis. A nice big batch – cook some now, freeze some for later!
HOW TO COOK PIEROGIS
Continued on next page